
The new Haukke Manor (Hard Mode) dungeon sees numerous changes from the previous lv26 story mode version. Most notably, this is a lv50 dungeon as part of the road to end game.


Requirements:
Item Level 48
4 Players
Complete Maniac Manor Quest (Unlocks the Hard Mode version)
1st Objection: Clear the White Hall
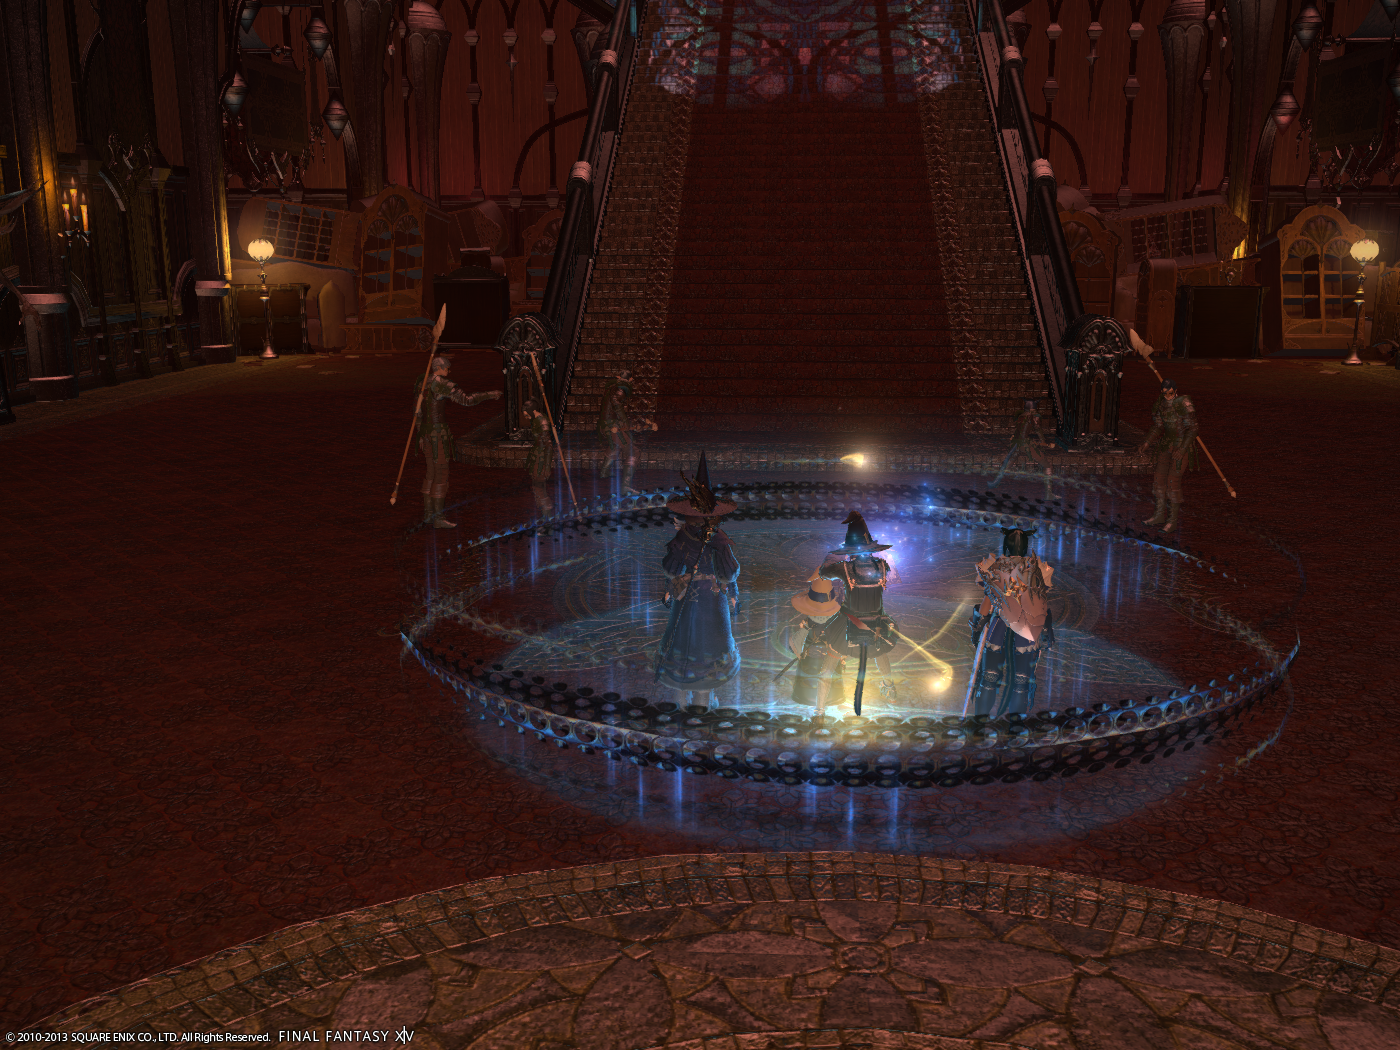
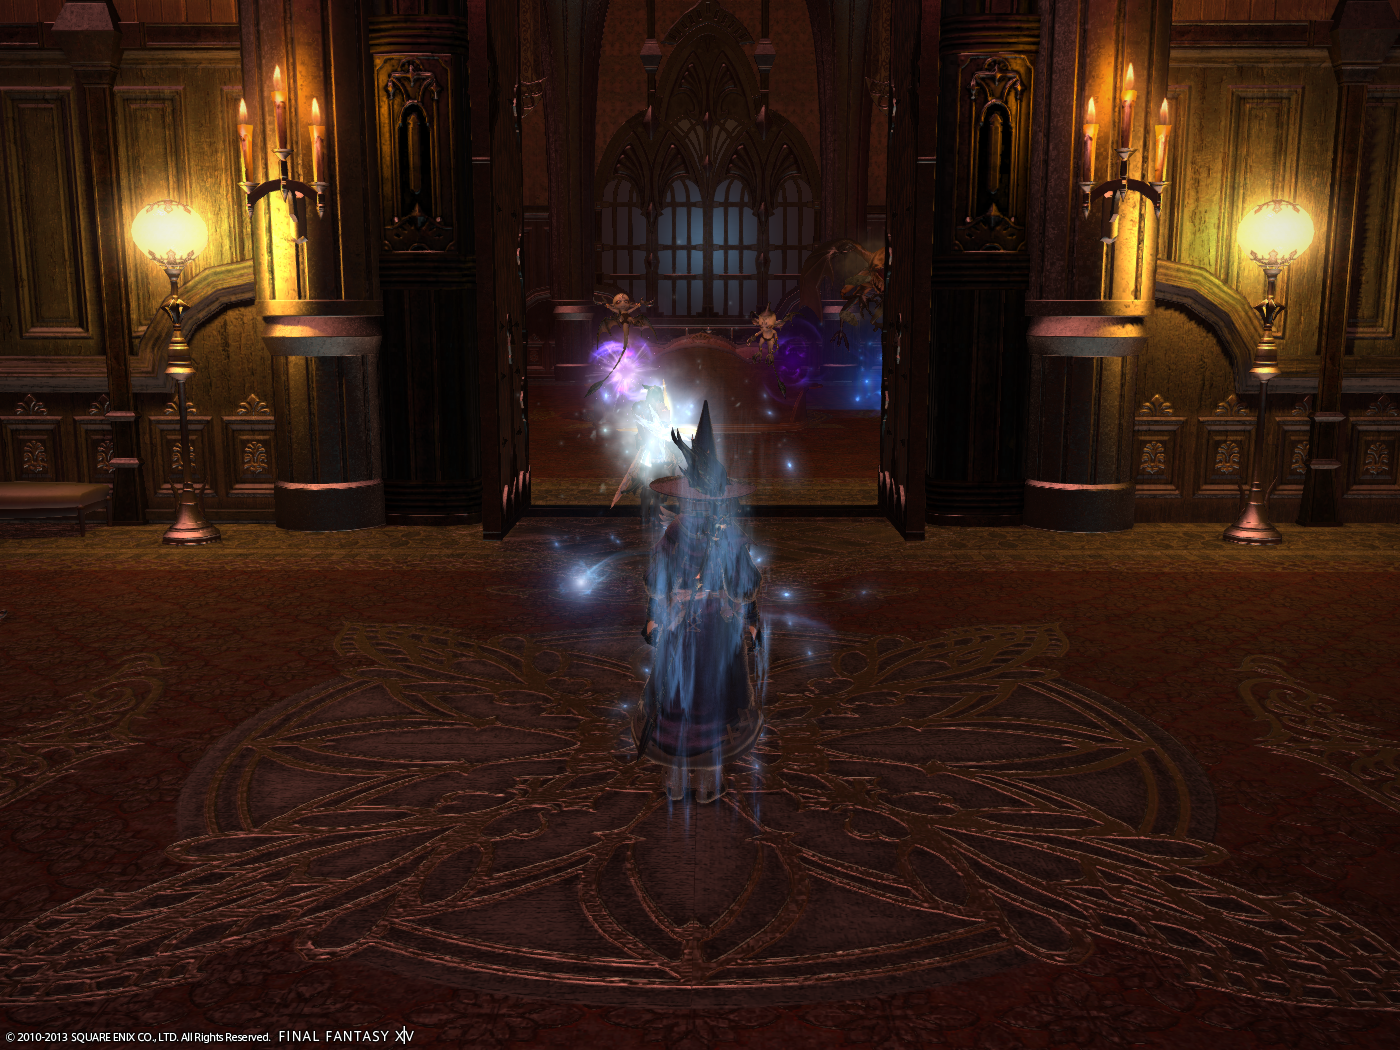
The start of the dungeon is the same as the previous with the party at entry hall to the first floor and stairwell. Unlike previous, the first floor is blocked. The only route is up the stairs and to the right. The layout of the dungeon is very straightforward with no real forks and only one optional room.
The players will first see a Manor Claviger transform a Twin Adder soldier into a Altered Wailer. The Altered Wailer will be the first enemy to face, as the Manor Claviger will flee. This setups the standard mechanic you will see through the entire second floor. The Altered Wailer is the standard demon, nothing too nasty.
The first group of monsters will be found in the only open room on the left. Inside, there will be a Manor Claviger along with two Man Acrobat and another Twin Adder soldier. However, different from before this soldier can be saved if the party kills the Claviger fast enough and the party will not have to fight 4 monsters, but only 3. The Manor Claviger will start casting Demonize after about five seconds of being attacked. Once all of the enemies are killed, the soldier will flee back to the ground floor.
The Manor Claviger will drop a tiny key, which is necessary to progress. All the rooms have locked doors and will require these groups to be killed to progress. Each locked room will have the same set of 3 monsters plus a soldier.
Once out of the rooms and back into the hallway, there will be a Manor Warden patrolling the hallway along with three Manor Acrobats. The Acrobats can be pulled separate from the Warden. The Warden's portal path is most of the length of the hallway up to the corner. To keep things simple it is best to pull the Warden first and then deal with the Acrobats second. The only thing of concern is the Wardens have a powerful front cone AoE.

The last group of monsters before the first boss will be two Manor Sentries, that act like the ones from Amdapor Keep, they look like statues until approached. The big attack to note for them is they have a long line AoE.
At the very end of the hallway is a chest with a restorative item.
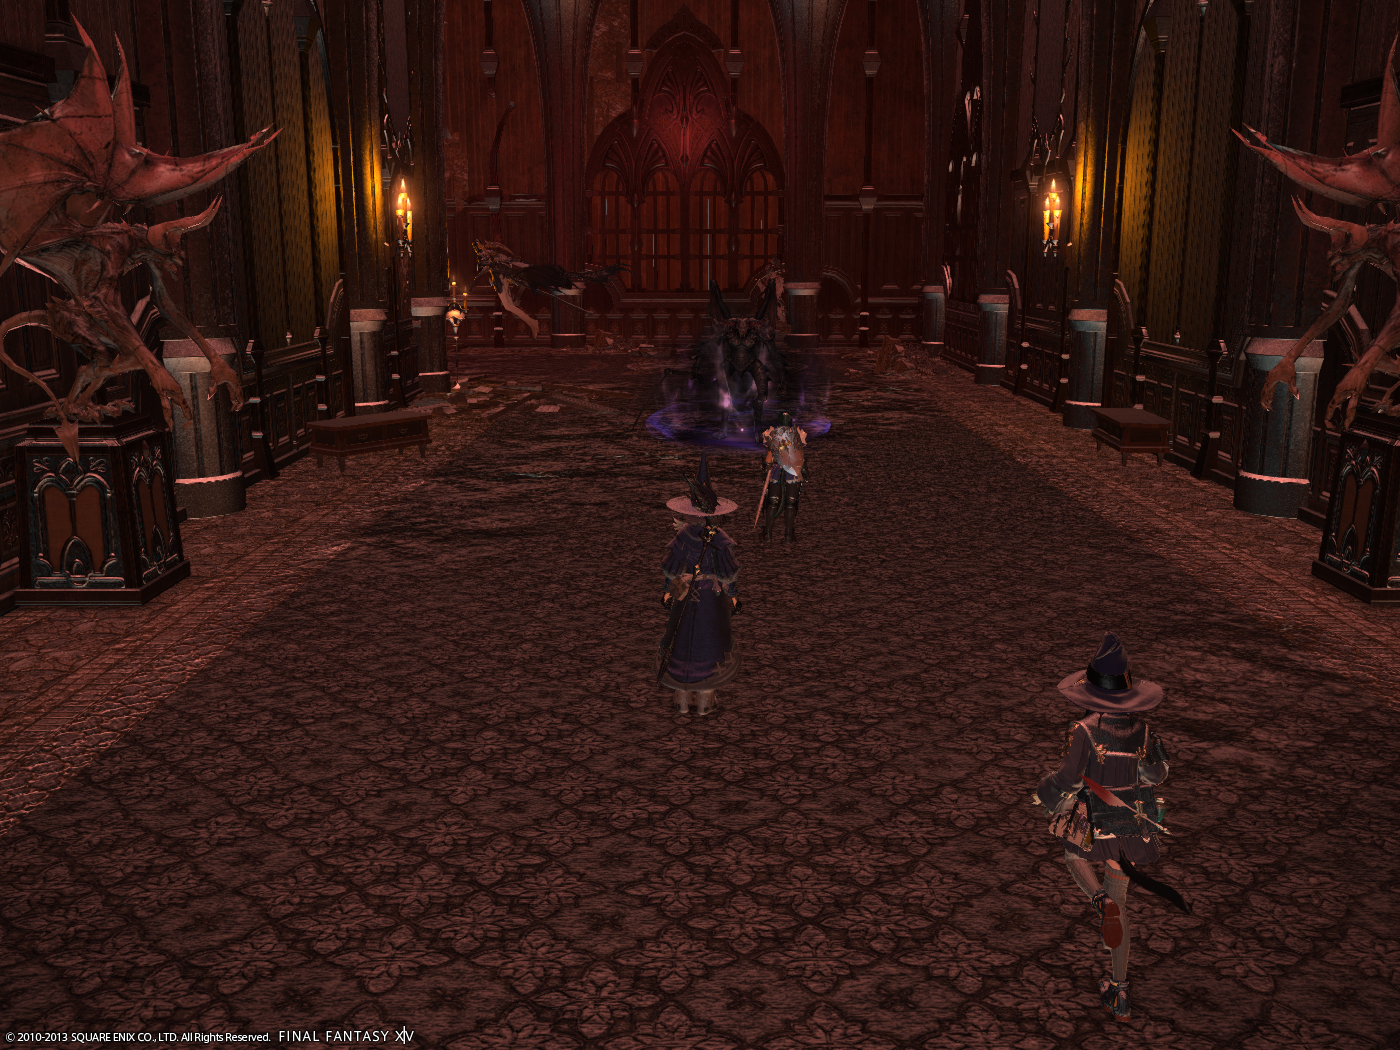
The first boss for Haukke Manor (Hard Mode) is the Manor Jester, which is initially accompanied by two Manor Butlers. The butlers are simple adds with very low HP. Kill the butlers first and as new ones spawn kill them immediately. There is a related boss mechanic that they function with.
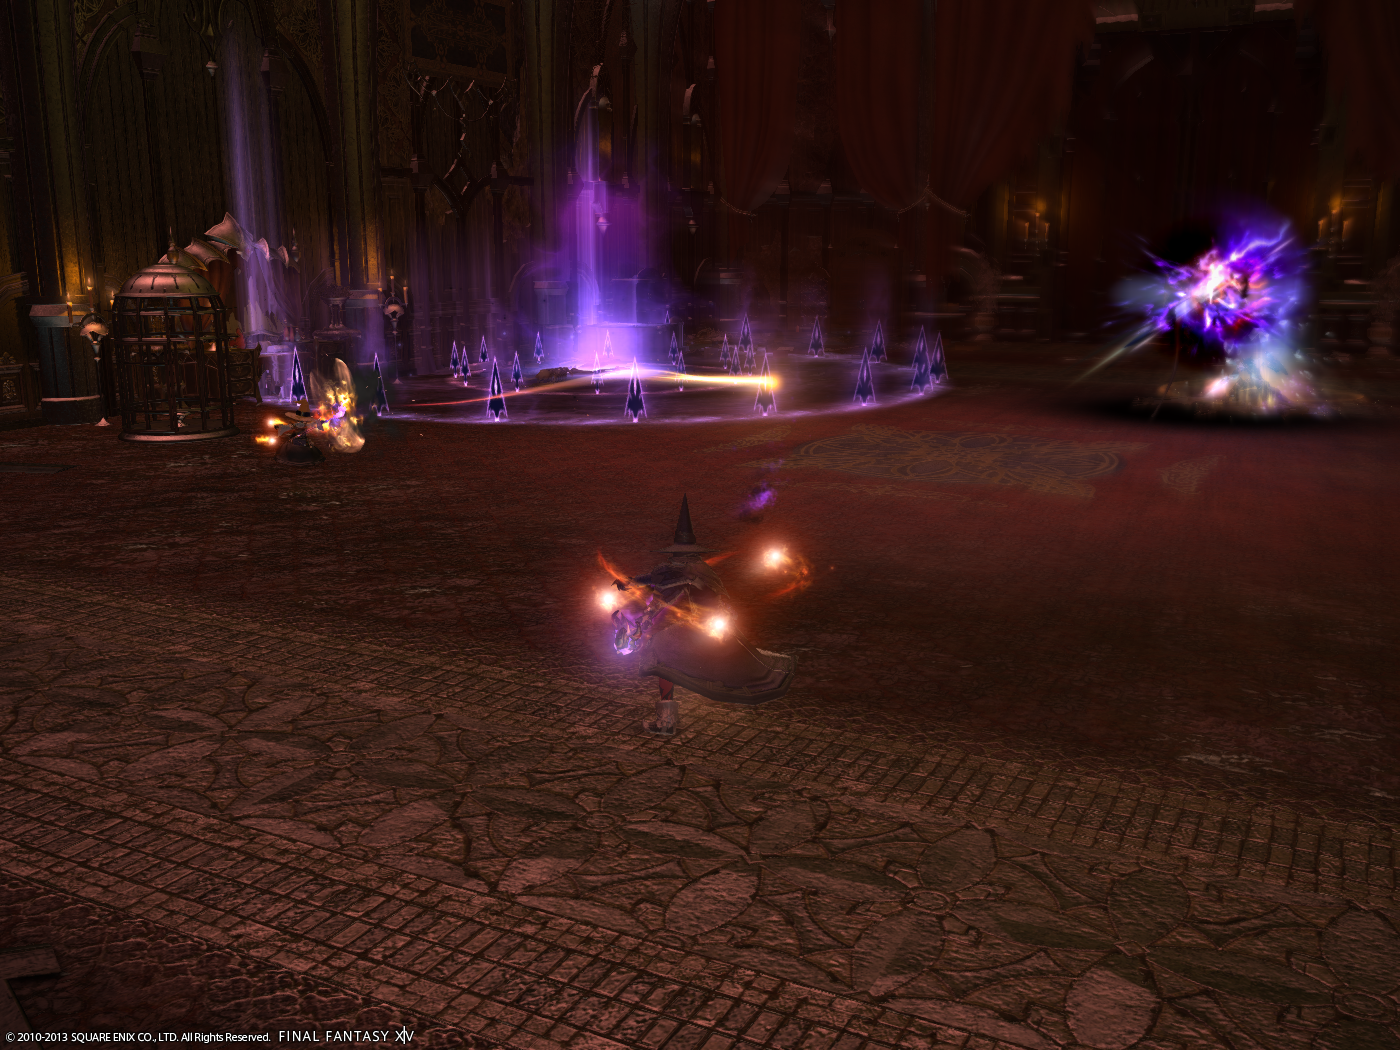
The Manor Jester is a heavy magic using casting Void Blizzard and Void Blizzard III as his primary attacks. Additionally, throughout the fight he will use a AoE called Ice Fall that lays down a persistent AoE that will leave a strong poison debuff on anyone that stands in, but the debuff will be removed when stepped outside of the AoE.
The last mechanic the Jester has is a Ritual Circle which will spawn the previous Manor Butlers that it started with. These are just as weak as before, but still should be killed immediately. However, there are also two cages in the room on opposite sides. These cages will also spawn butler adds. If these butlers enter the Ritual Circle they will transform into a giant butler becoming significantly stronger and tougher risking the party's survival, so kill all adds immediately to prevent this from happening.
Also don't stand in the Ritual Circle as it has once killed a party member during one of my runs.
Killing the boss will drop a chest holding a item level 60 piece of gear.
2nd Objective: Clear the Red Hall
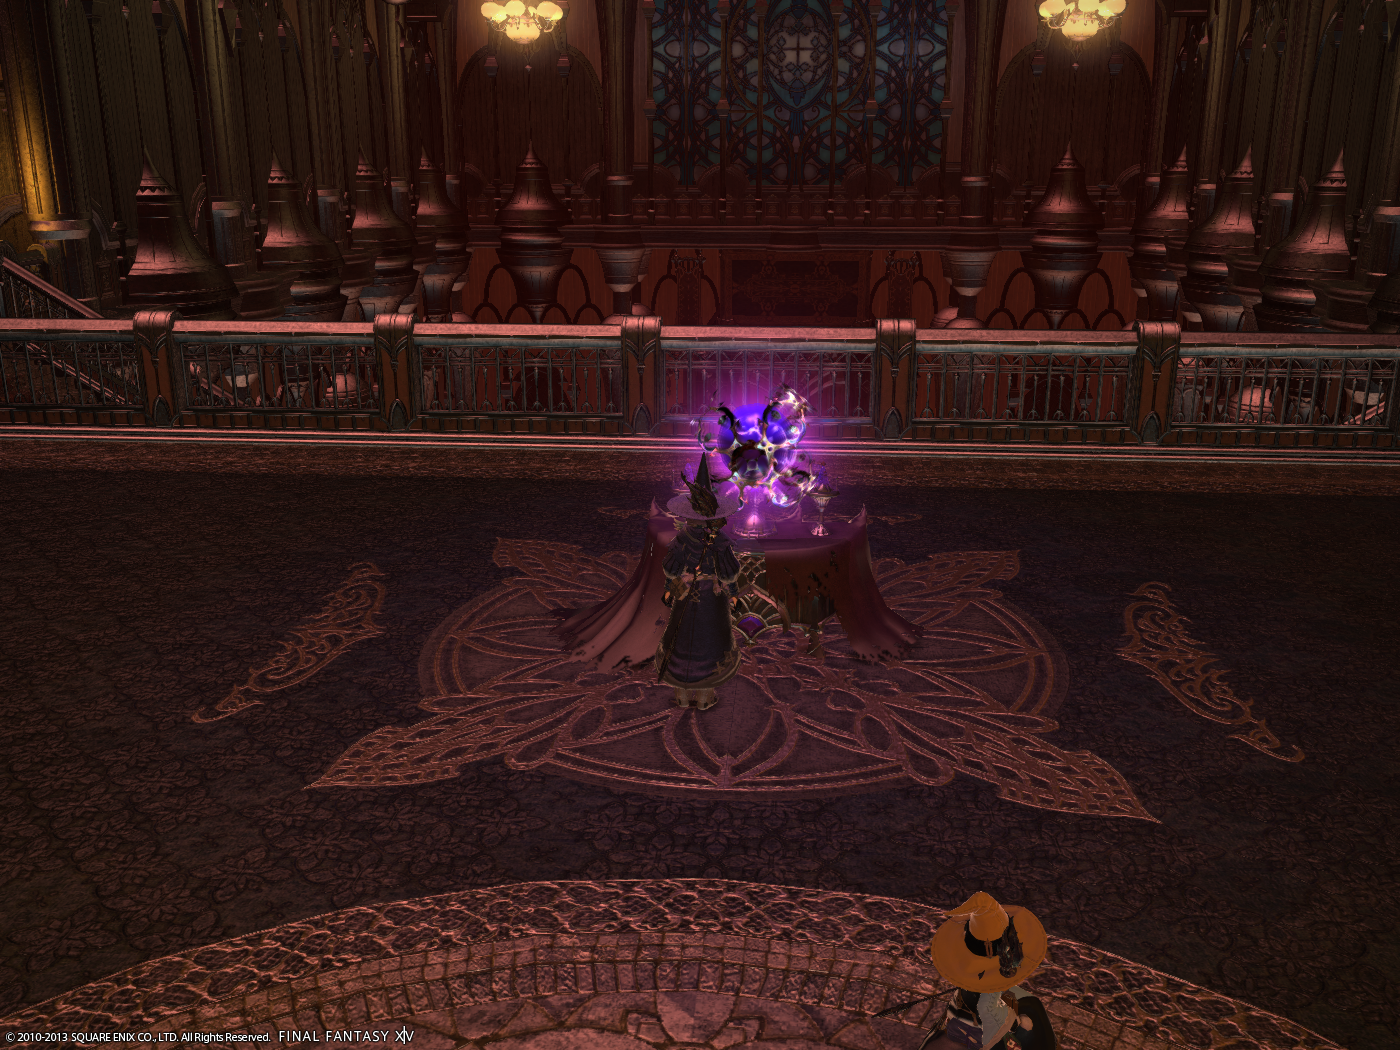
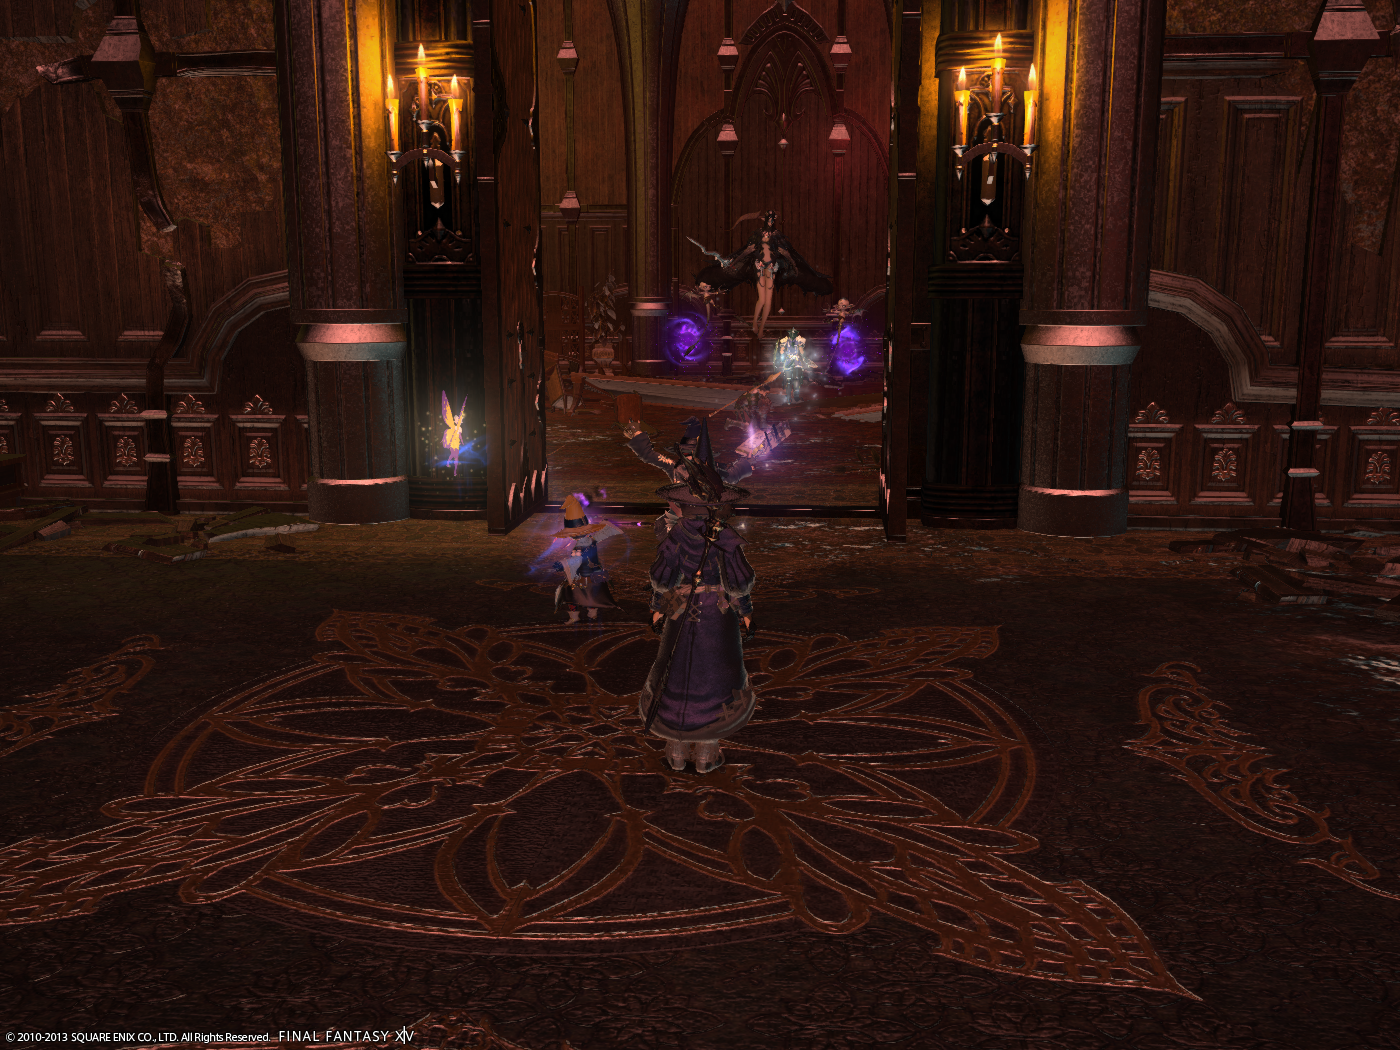
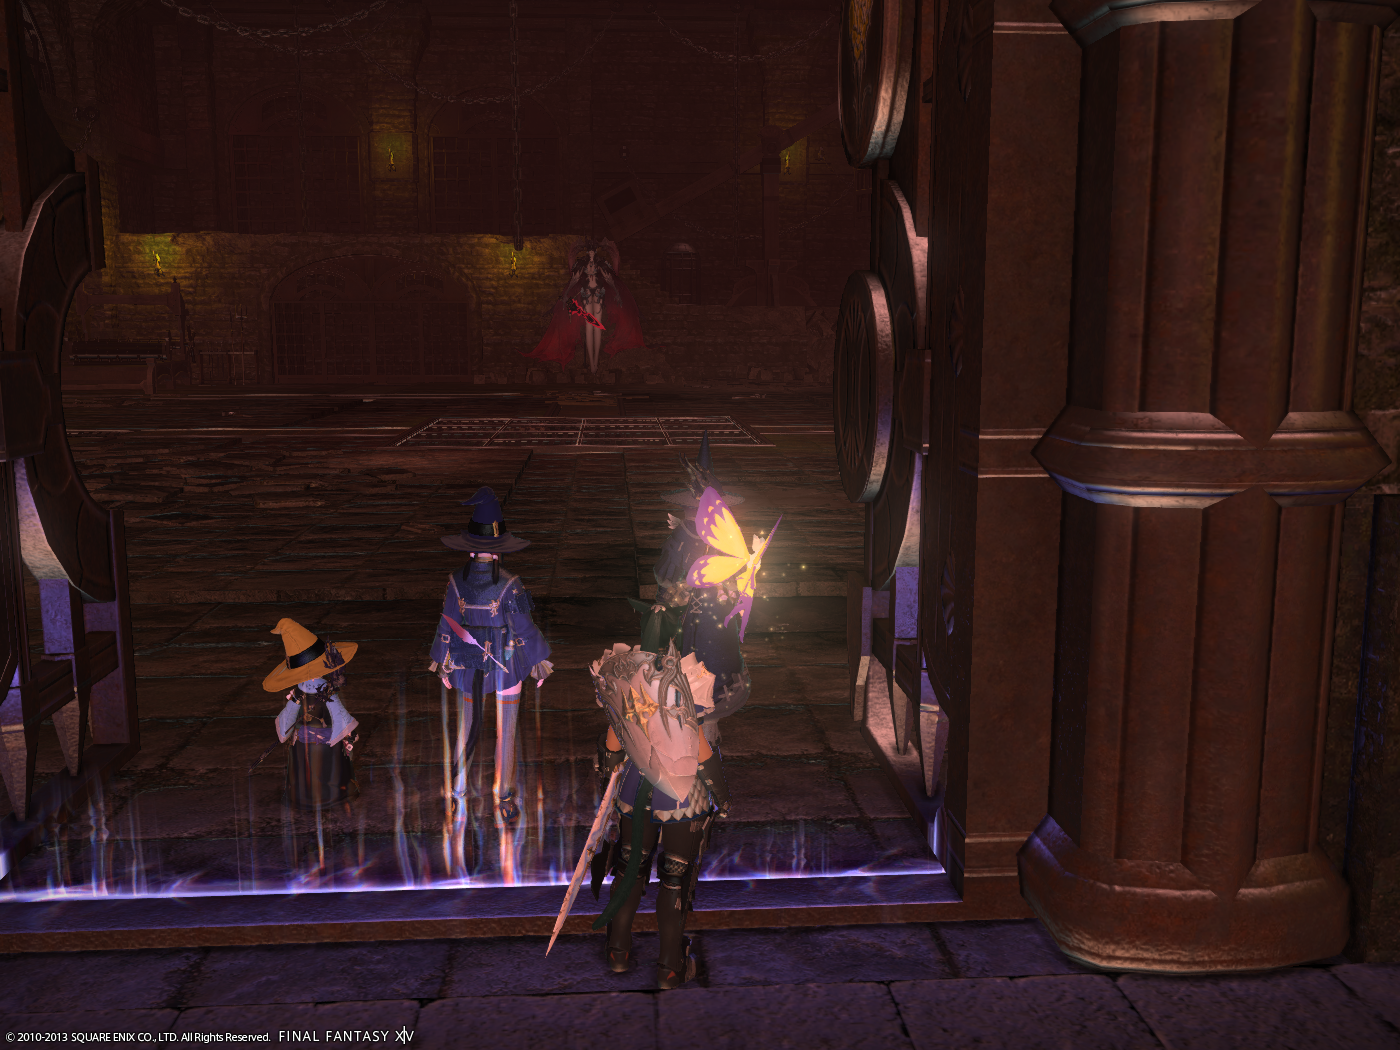
After killing the Jester and leaving the room, there will be a Crystal Ball at the dead end. Interact with this to be teleported to the ground floor, but behind the barricades. Most of the rooms in this hallway ware inaccessible by the player, but still house monsters that will detect and aggro at a very large range.
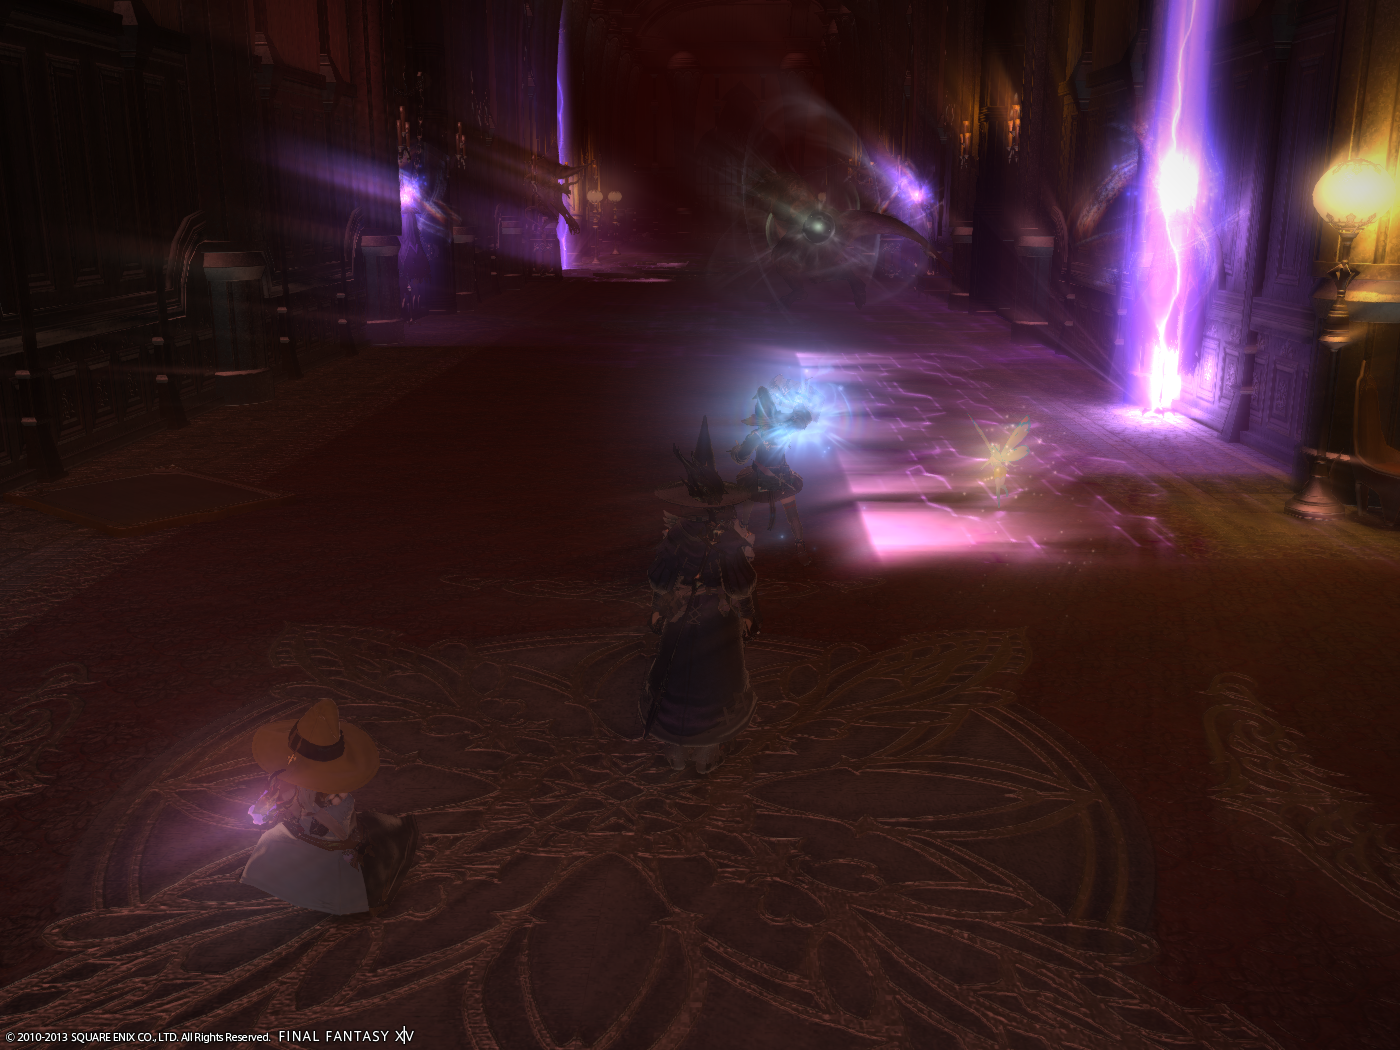
The first and main mechanic the player will have to deal with is a AoE line that moves over the floor periodically. These AoEs are linked to the monsters in the room. Killing the monsters will disable the AoEs from triggering. The best strategy is to have the tank pull aggro on the monsters and bring them back to the party to limit the chances of the rest of the party being hit by the AoE.
Also there are more Warden patrols through the hall that must be managed on top of the side room monsters. If possible pull the Warden first and then aggro the room.
The first room will have Altered Wailers, the second room will have a different model, but the same name. The last group after the turn in the hallway will have the AoE's linked to the Manor Acrobats in the hall, not in a room. They are on the opposite side of the AoE. The tank can pull the monsters back to the party or the party and fight the Acrobats where they are crossing the AoE. There is a second Warden patrol to watch.
This group of monsters will drop another tiny key that will unlock the room to the left of them. It is best to have only the tank open the door and the rest of the party out of line of sight as the monsters aggro immediately on opening the door and it is often not the tank.
Inside the room is a Manor Sentry with two Manor Acrobats. The Manor Sentry is just like the sentry from the original Haukke Manor, once it's HP drops below 25% it flees unlocking the next boss's room.
Inside this room is another chest with more restorative items.
The boss for this floor is call Ash. The first mechanic, Primary Guillotine in this fight will be something the hallway prepared the party for, as line AoEs will be laid down across about 80% of the room. Do to the size of the AoE, it is best to fight on the west side of the room to avoid the first AoE. The AoE will alternate most times through the fight, but if you lose track of which is next, it is best to stand near the middle of the room giving you enough time to dodge.
The next move that Ash will use is Abyssal Charge that will spawn five points that fire in line AoEs across the room in random directions from the center. This is normally the follow up to a Primary Guillotine.
The last unique move he has is Tenebrous Missile, which will target a random player. The initial attack is small, but it leaves behind a spinning spirit weapon. Being hit by this spinning weapon will leave a slow debuff on the player, which in this fight is a bad thing to have and must be esuna'd off immediately if you want to survive. It is best to move immediately when hit by this attack to avoid the spinning weapon, which also knockbacks the player on contact.
The other mechanic for the fight is a void portal that appeared at the far side of the room. This portal will do two things. It will first spawn a Taurus Minion. After spawning it, the portal will regularly attack a random player until the Taurus is dead. So it is important to kill the add quickly.
Killing Ash will grant two coffers with ilvl60 gear.
3rd Objective: Defeat Halicarnassus
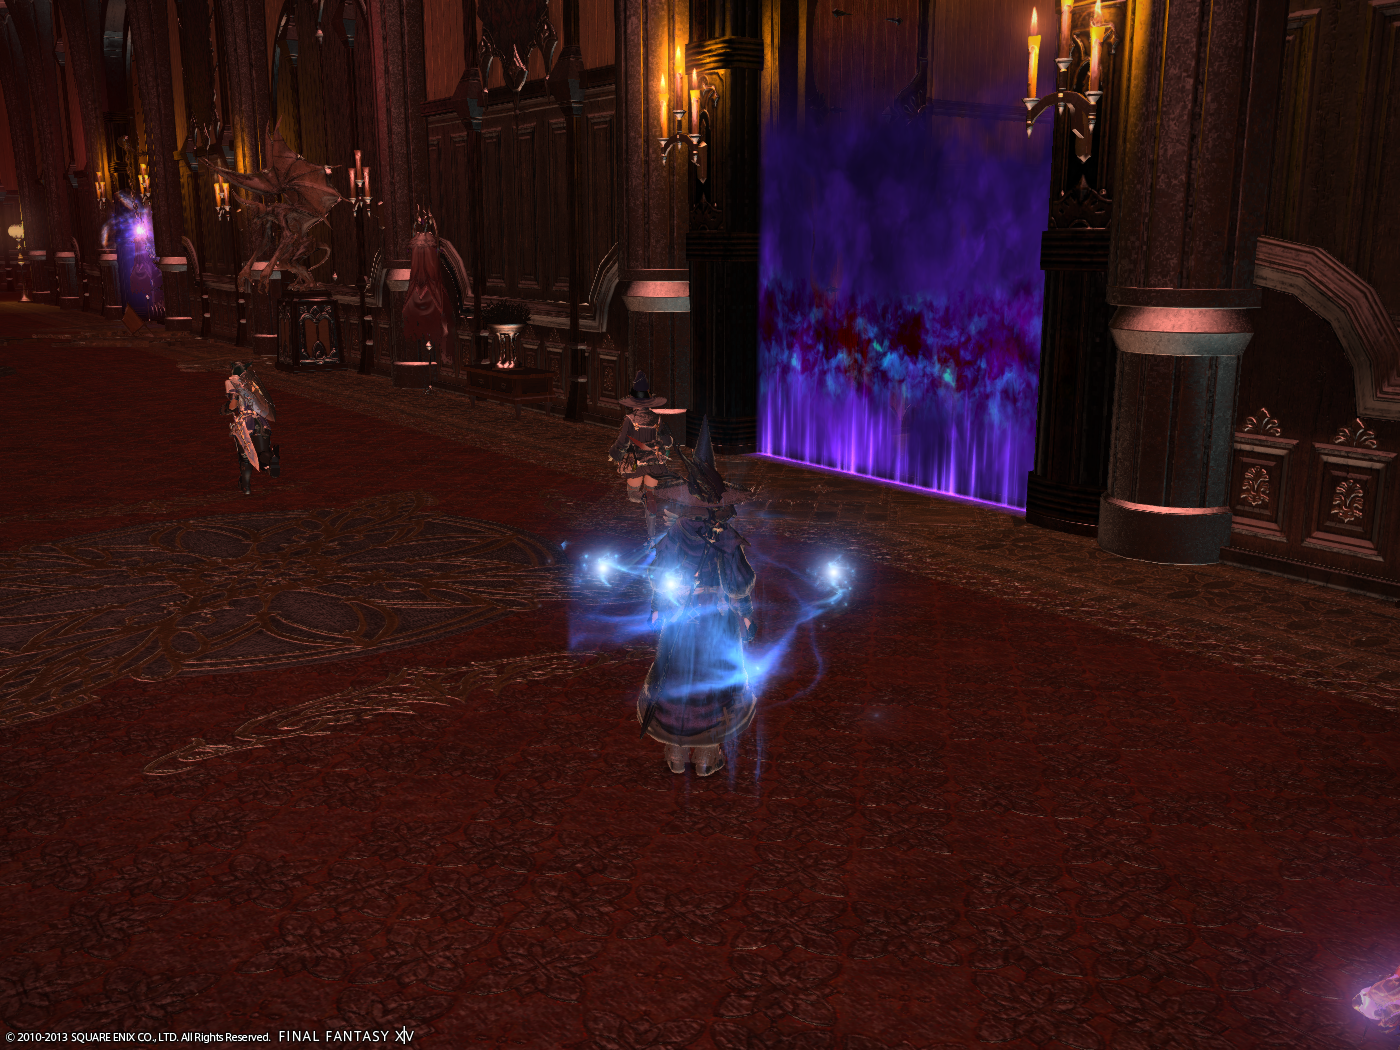
Another Crystal Ball will be present behind the boss's room. This will teleport the party down to the basement floor. Unlike last time, all of the cells are unlocked and the monsters inside will aggro at passing party members.
The first group is three Manor Footman. The first cell has three Altered Wailers. Next cell has four Manor Footman with a Congealed Blood. The last cell with monsters has three Manor Footman and a Writhing Statue. Around the corner in the last hall is a patrol Manor Warden. The Warden will approach the corner and often aggros when fighting at the last cell so be prepared for this or pull back further away to avoid unwanted links.
The far end cell is empty of monsters, but it does have two coffers which will have ilvl60 accessories.
The final boss of the dungeon is Halicarnassus. The most important mechanic to remember about the fight is that she will absorb the adds that spawn through the fight to gain buffs. This action will also trigger Blood Rain, which will deal damage based on the remaining HP of the add. Anymore than 50% HP remaining on the add will likely wipe the party. The safest range less than 20%, but it is best to get it to 0% to reduce the damage to all only a few hundred damage. The adds cannot be killed, so change targets once it has zero HP.
The adds in the fight are first a Manor Sentry followed by two Manor Maidservants and last Lady Amandine. The Many Sentry will be the same before. The Manor Maidservants most often open with Void Fire III which will do significant damage and if they attack the same target is very possible to be killed outright. Lady Amandine has similar moves as Halicarnassus using Dark Mist, Void Fire, Void Thunder III.
Halicarnassus will start by only having access to Void Fire II (a small AoE), Dark Mist (AoE centered on herself) and Void Thunder III. Both AoE should be dodged, but the Dark Mist most importantly as it will immobilize anyone caught by it for ten seconds. After the Manor Sentry dies she will also use Void Fire IV which deals more damage and has a significantly larger AoE. After Lady Amandine is killed, she will add Beguiling Mist which will fill the whole room and will cause all targets to uncontrollable walk towards her for five seconds. Most times she follows up with a Void Fire IV, so it is expected someone will be taking damage during this. She also upgrades to a Void Thunder IV.
Killing the boss will reward the player with another coffer with a ilvl60 gear and 100 tomestones of philosophy and 50 tomestones of mythology.
-
 Have a guide, tips, boss strategy? Have some cool FFXIV fanart you want to showcase? Submit your resource and we'll get it posted. Depending on the complexity, length and validity of the resource, you will also earn Gil. Gil can be used to cash out for real money or later purchase items from the store! Learn more.
Haukke Manor (Hard Mode)
A guide of the hard mode version of Haukke Manor.
